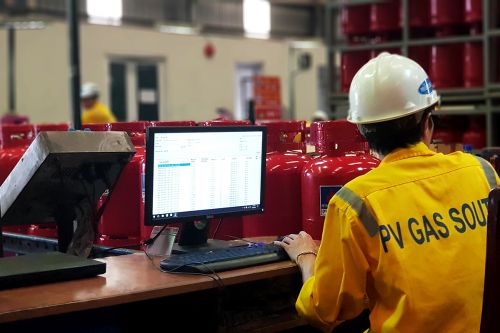
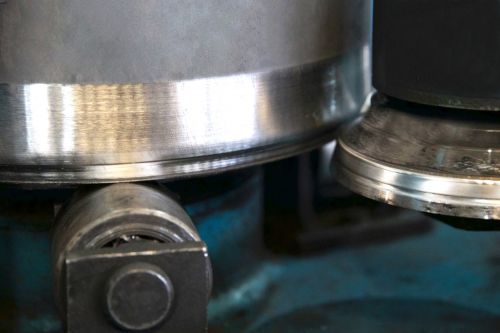
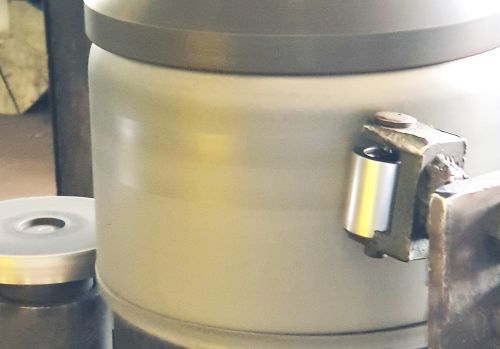
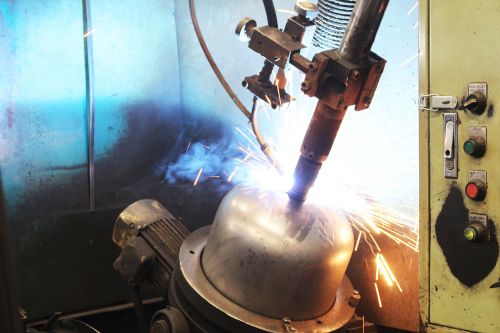
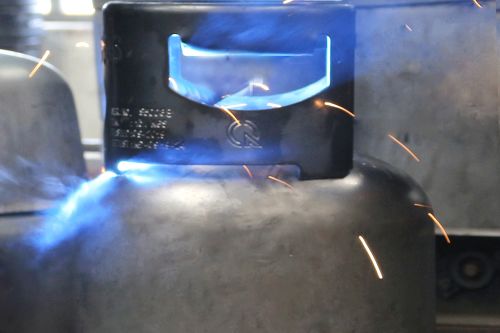
The factory was invested with the modern production lines from blanking to finishing process with over 80% automation. The blanking and forming machines were manufactured and supplied by CMW- Japan. The welding machines Miller and Lincoln – USA were assembled for circumference welding process and Panasonic welding machines were assembled for shroud, foot-ring and neck-ring welding processes. The other equipment such as heat treatment furnace, shoot blasting, zine metalizing produced and supplied by Winner – Korea and the electrostatic powder coating line with capacity more than 800 cylinders per hour was fixed with praying gun Nordson– USA. The following offers a step-by-step breakdown of our manufacturing process.
Step 1:
Step 1
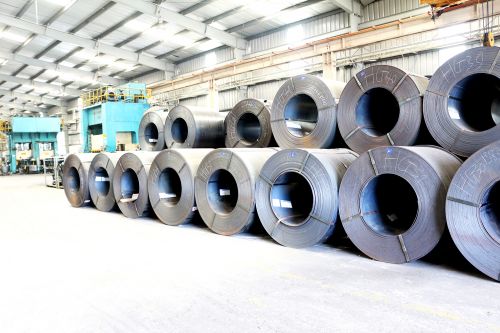
HRC inspection and storage
Hot rolled steel coil (HRC) used for cylinder manufacturing shall be suitable with standard JIS G3116 SG 255 or JIS G3116 SG295 and imported directly from prestige manufacturers in the world such as Nippon Cooperation, JFE (Japan) or Posco (Korea). HRC shall be done in chemical property and mechanical testing before transferred into manufacturing.
Step 2:
Step 2
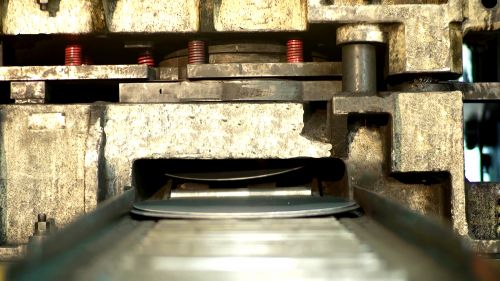
Blanking
Hot roll steel is straightened long on the de-coiler and then straightening machine. Then cut into the required dimension by the pressing machine 400MT. During the blanking process, diameter of blank is need to be inspected tolerance level of fabrication diameter.
Step 3:
Step 3
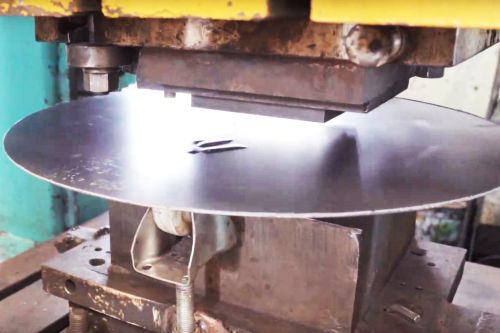
Embossing:
Blanking steel plate is embossed identically with figure furnished by client prior to casting into a cylinder. During embossing, figure shall be visual checked
Step 4:
Step 4
Deep drawing:
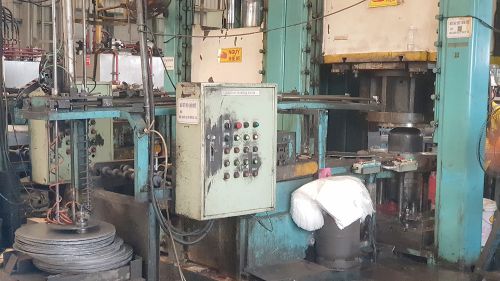
Blanking steel plate is put into the machine to cast into half cylinder shell and a hole with specific dimension is pierced for neck-ring welding during deep drawing process. The surface of cylinder shell and the hole shall be visual checked after pressing
Step 5:
Step 5
Deep drawing:
In process of wet pressing, lubricant on the rough draft of the cylinder half shall be washed clean by detergents and hot water spraying.
Step 6:
Step 6
Trimming & joggling
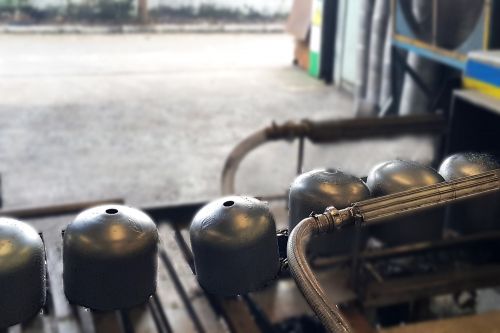
The lower shell is trimmed and joggled the edge
Step 7:
Step 7
Edge Trimming
The upper shell is trimmed at the edge
Step 8:
Step 8
Foot-ring Welding
The foot-ring is welded on the lower shell
Step 9:
Step 9
Neck-ring Welding
The neck-ring is welded on the upper shell.
Step 10:
Step 10
Shroud Welding
The shroud is welded on the upper shell.
Step 11:
Step 11
Circumferential Joints Welding
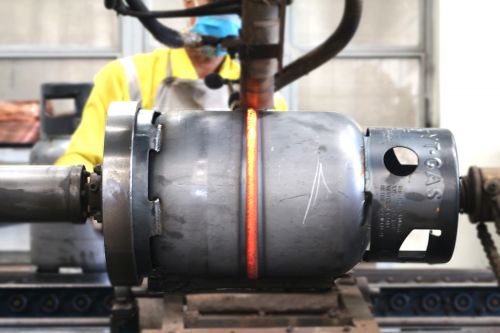
The lower shell and the upper shell shall be joined together by machine and then it is transferred to the seam welding machine for welding the cylinder body. Welding joint of the body is a 2-layer overlapped welded joint by method of arc welding under a welding powder layer
Step 12:
Step 12
Heat treatment
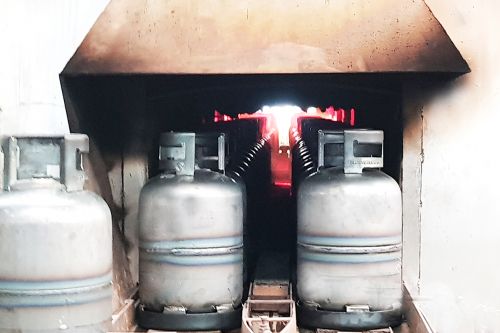
The cylinders are treated in the annealing furnace which has a temperature range of 900 ± 50 degrees celsius. This is done to re-obtain the appropriate mechanical property of the steel which was alternated during the forming and welding processes
Step 13:
Step 13
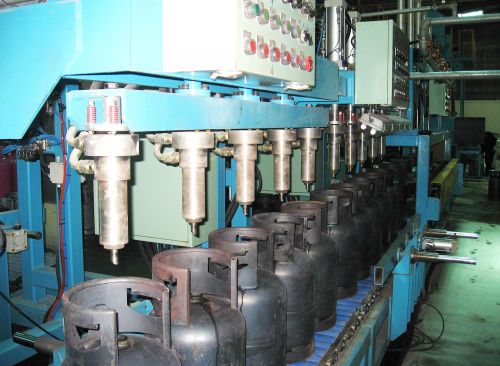
Hydrostatic pressure inspection
In this inspection, the cylinder shall be fully loaded with water, then testing pressure shall be slowly increased to testing pressure, keep the testing pressure within 30 seconds, observe and check carefully to confirm that there is no any leakage and abnormal deformation on the cylinder
Step 14:
Step 14
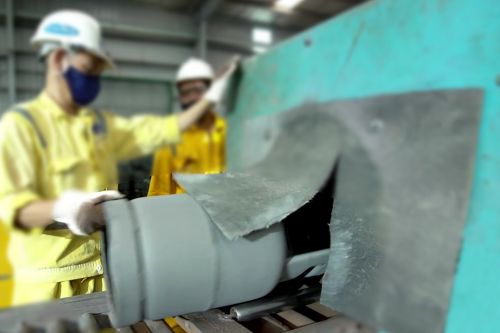
Shot Blasting:
The cylinders after heat treating and acceptable hydraulic checking test shall be shoot with steel ball in order to clean the cylinder surface before zinc metallizing or etching primer painting and remove scale, oil grease and other foreign materials harmful to corrosion preventing painting. The whole surface after shooting shall be reach cleanness of SA 2.5
Step 15:
Step 15
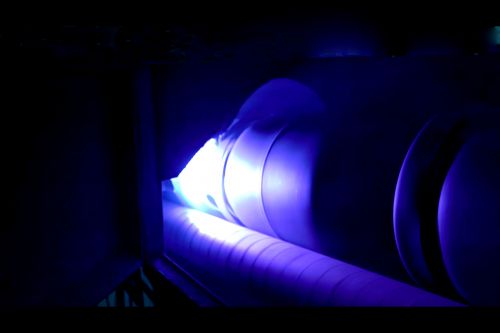
Zinc metallization/ primer zinc coating:
The purpose of zinc metallization or / primer zinc coating is to avoid a corrosion of the gas cylinders. Uniformity of zinc layer must be inspected while metallizing zinc.
Step 16:
Step 16
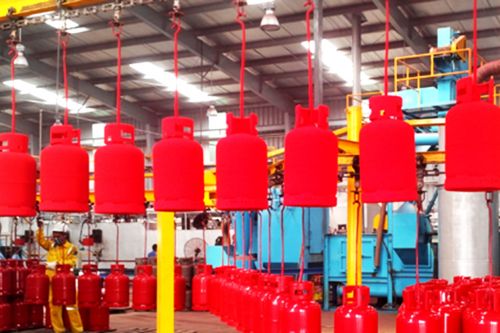
Electrostatic powder coating:
Cylinders, after zinc metallization/ primer zinc coating, shall be transferred to a process of powder coating. After finish painting, the cylinders are automatically move to the drying booth for drying.
Step 17:
Step 17
Valve screwing:
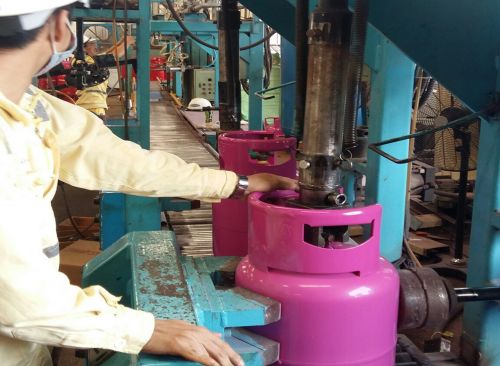
the approved cylinder, after finished painting, and overall checking shall be transferred to valve assembly section in which valve requested by client be installed. While valve screwing, the type of valve, remaining length of threads, tightening strength of valve need to be controlled.
Step 18:
Step 18
Air Filling & Immersion:
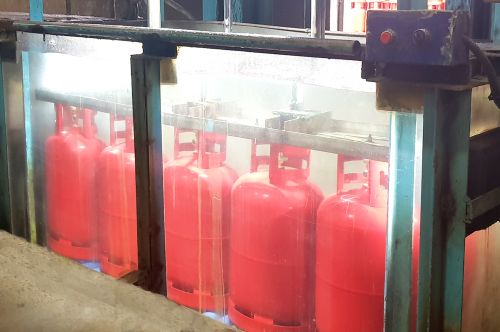
Cylinders shall be filled with testing pressure for inspection of valve and body leaking in preparation for Immersion. The immersion process will be used to tilt the cylinders into the water tank for inspection.
Step 19:
Step 19
Vacuum Testing:
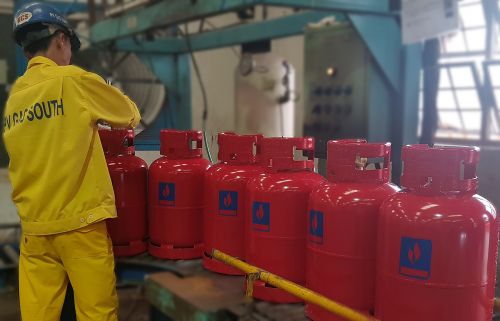
After immersion testing, the cylinder will be depressurized and released the air from the cylinder and vacuumed up to 650 mmHg-Column.
Step 20:
Step 20
Logo Printing:
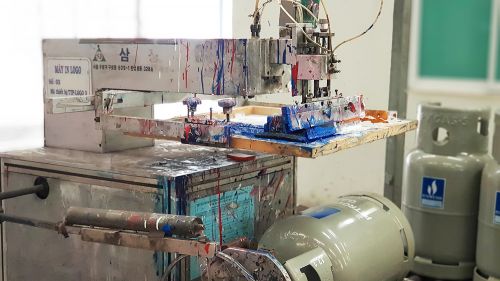
Logo shall be printed on the surface of the cylinder at requests of the clients.
Step 21:
Step 21
Overall inspection and storage:
All finished product before storage shall be visual overall inspection.
